If there’s one thing Wuthering Waves teaches its players, it’s that the world doesn’t just hand out Primogems—err, Astrite—on a silver platter. Nope, you’ve got to work for it, and sometimes that means staring at floating symbols while a spinning room gives you existential vertigo. Enter the Perspective Bender challenge, a bizarre little instance that’s equal parts brain teaser and jumping-jack simulator. In 2026, it remains a rite of passage for any Rover worth their salt. So strap on your best thinking cap (and maybe some motion-sickness pills) because this guide will waltz you through every twist, turn, and facepalm-worthy moment.
Before any puzzling can happen, the game demands a little side quest appetizer. You can’t just stroll into the Perspective Bender like you own the place—oh no. First, you must complete “Restart the Radar,” which sounds more like a tech-support call than an epic adventure. Head northeast of the Rearguard Base until you spot an Upset Soldier who looks like his Wi-Fi went down in the middle of a gacha pull. Chat him up, and he’ll send you on a scavenger hunt to reboot some Surveillance Stations. It’s the classic “my radar is broken, please fix it while I stand here” routine.
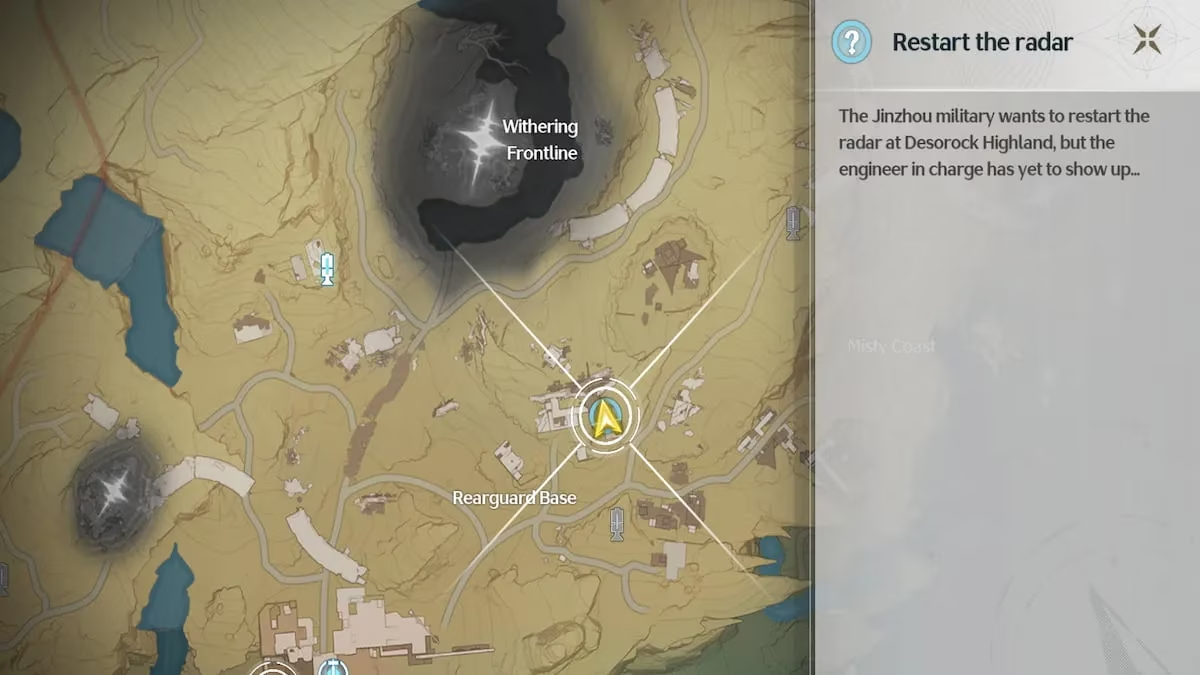
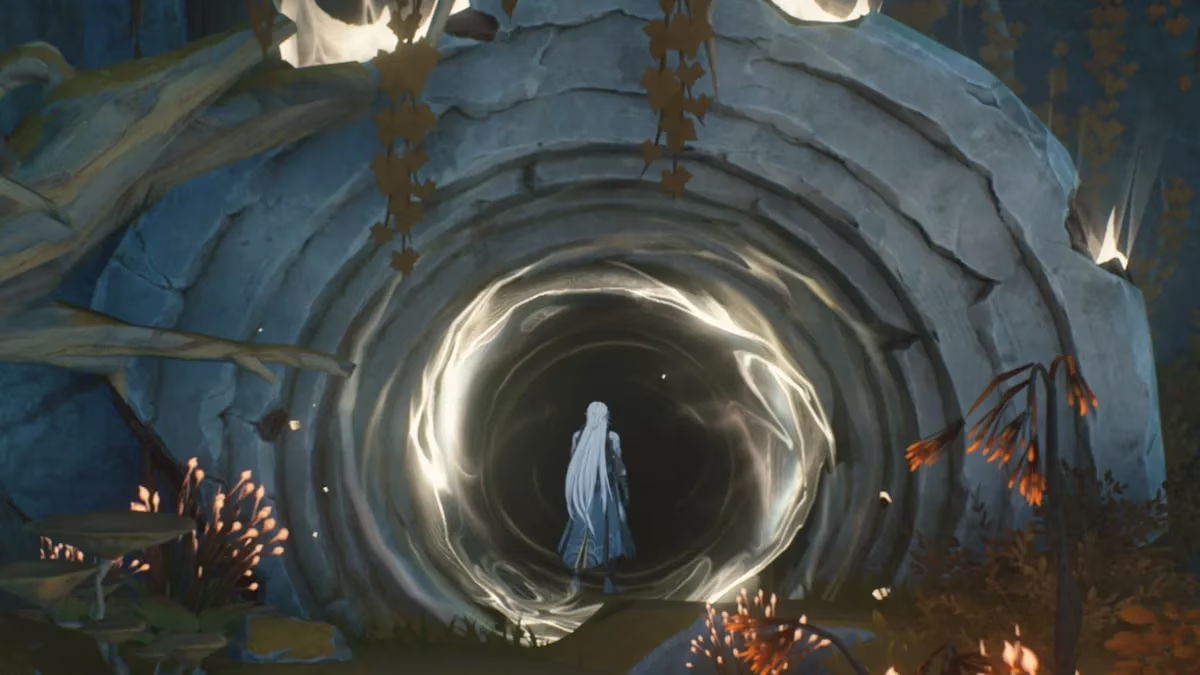
Once you’ve played IT support and the radar hums back to life, the real fun begins. The Perspective Bender realm door materializes northwest of the radar site, past the Withering Frontline. Stroll through it like you’re entering a portal to Narnia, but instead of a faun, you’re greeted by a room full of buttons and a door plastered with symbols. Welcome to Puzzle 1, where the only rule is “make things match or stay stuck forever.”
Puzzle 1: The Stomp-and-Pray Method
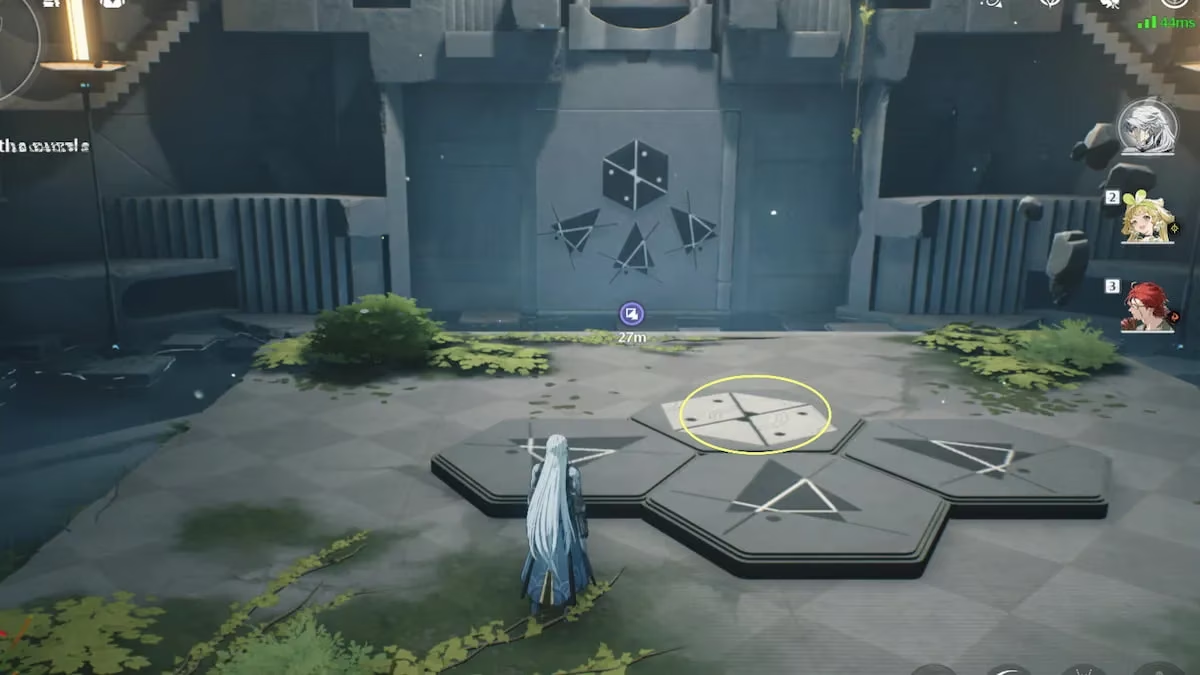
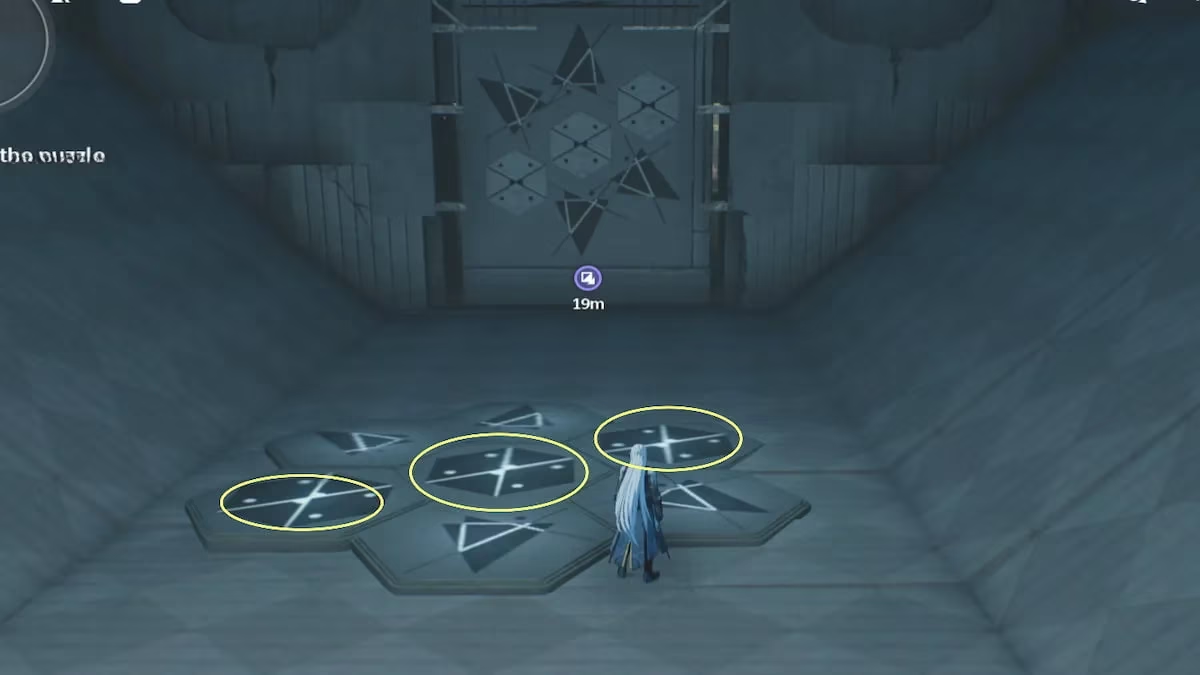
The first room shows a door with a pattern of triangles and a cube, while the floor hosts similar shapes looking suspiciously like they just rolled out of bed. Inspect them like a detective who forgot their glasses. The trick? All the triangles already line up with the wall, but that single cube button is toggled to the wrong state. It’s screaming “press me” in the most passive-aggressive way. So, do what any reasonable Rover would: climb onto the cube button, leap into the air, and plummet down with a satisfying thud. If you’ve done it right, the door swings open, and you can proceed feeling like a genius who just solved a toddler’s shape-sorter.
Puzzle 2: Spin to Win (But Not Too Much)
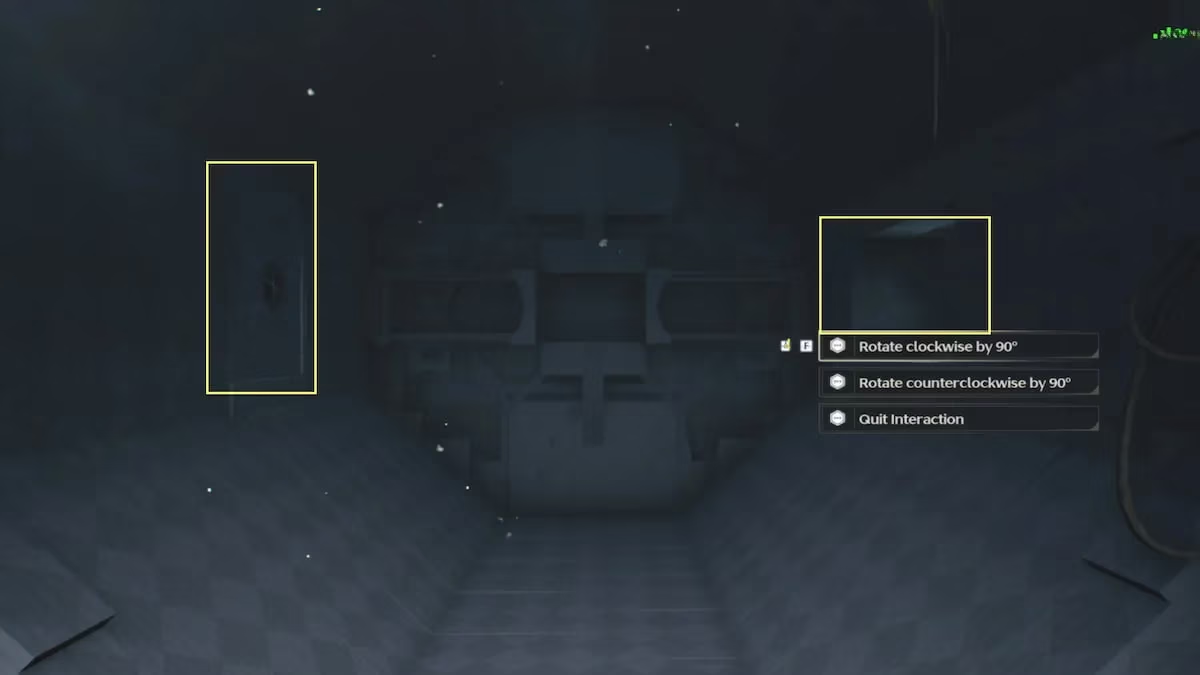
Next up is a room that plays mind games with architecture. There’s a circular device—let’s call it the Room Spinner 3000—that rotates the entire environment like a lazy Susan from a fever dream. The goal here is to line up the path forward, but the game also hides a chest as a treat for the spatially aware. Interact with the device and hit “Rotate 90 degrees” exactly three times. On the second spin, back out and grab the chest (don’t be greedy—just one chest, no more hiding). Then give it one final twist so the door straight ahead aligns with your destiny.
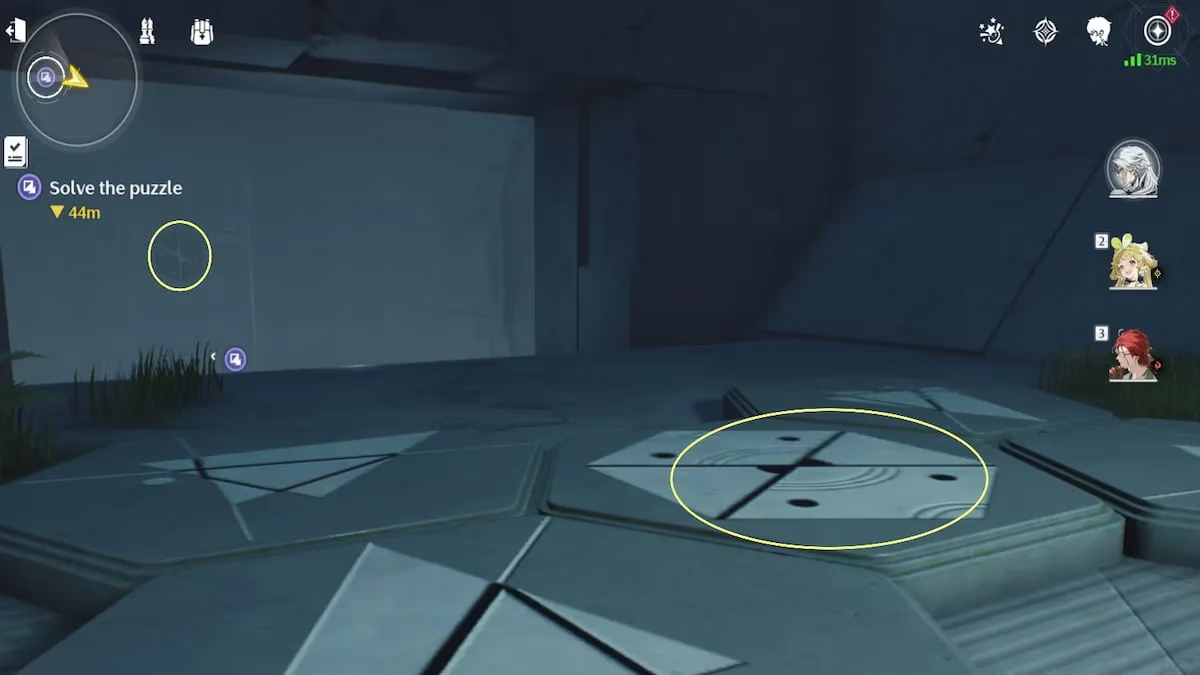
Now you’re faced with another set of buttons. This time, three cubes and four triangles are scattered like confetti after a particularly math-heavy party. But fear not—only the cubes need a plunge. Give each cube a good jump-stomp, and watch them all turn white like they’ve seen a ghost. The door unlocks, and a jump pad sprouts nearby, yeeting you to the upper level. It’s elegant in its simplicity, really. No PhD required.
Puzzle 3: The Room That Can’t Make Up Its Mind
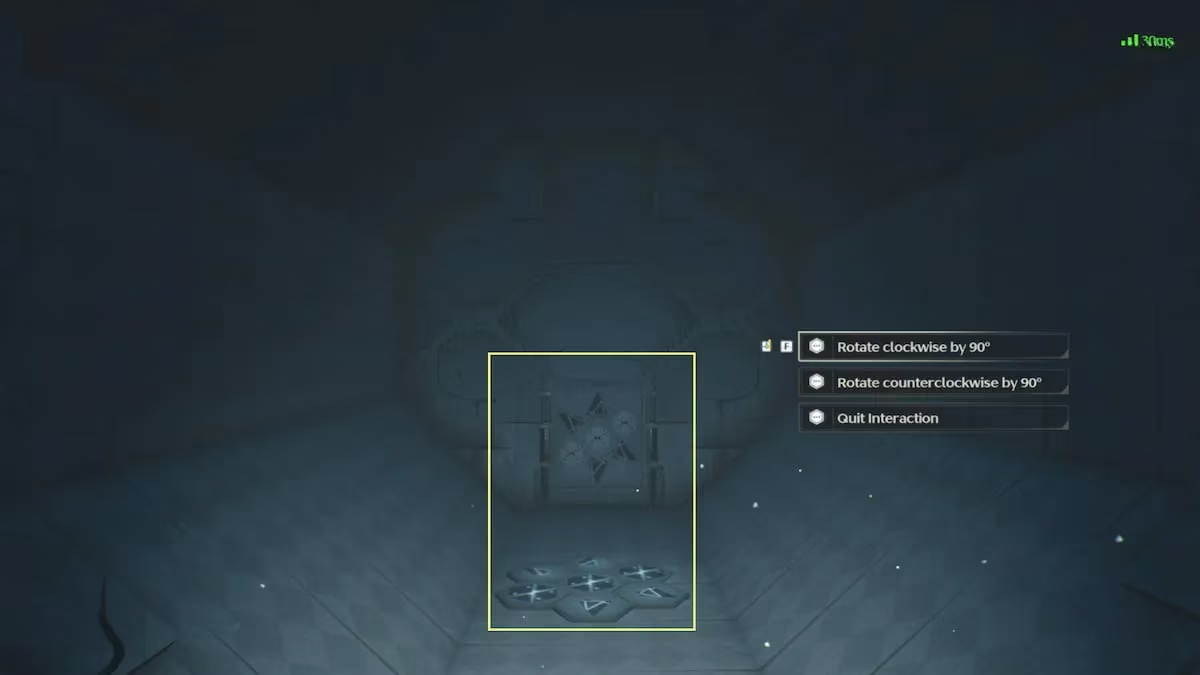
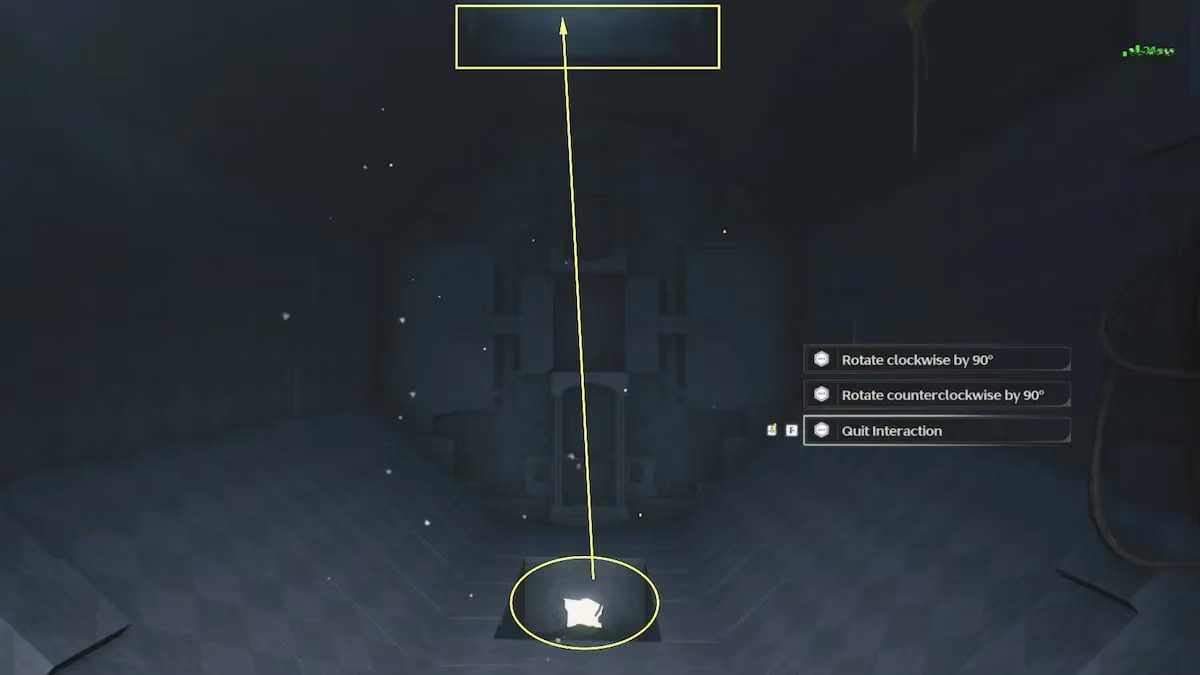
On the upper floor, another rotation device greets you with a digital smirk. This time, instead of a door, you’re dealing with an opening that looks like a missing piece of wall. Rotate the room clockwise exactly once. Now the opening sits on the right, and a wall of symbols glowers at you from the left. Time for some more button plunging. This miniature puzzle is a carbon copy of the first: one center cube needs a good stomp to match the white cube on the wall. Jump up, come crashing down, and the symbol wall opens like a magic wardrobe.
Inside that newly opened nook, a pack of baddies awaits. Defeat them (use your flashiest skills—they deserve a show) and a purple Tidal Heritage will appear, brimming with rewards. Grab it and head back to the main room. Now, use the rotation device again to spin the room so that openings appear both above and below. The bottom opening reveals a jump pad, and the top one is your exit. Use the pad like a springboard, glide over to the stairs, and feel like an acrobat who just stuck the landing.
Puzzle 4: The Grand Finale of Confusion
Just when you thought you had it all figured out, three enemies jump you before the final chamber. Swat them like flies and step into the most complicated puzzle of the bunch. This room is a fever dream of symbols, a rotation device in the middle, and a stone tablet that helpfully says something like “line up the cracked openings, dummy.” So you do precisely that: rotate the room twice until all three star patterns on the walls align perfectly. It looks like a celestial art project, but it’s actually a decoder ring.
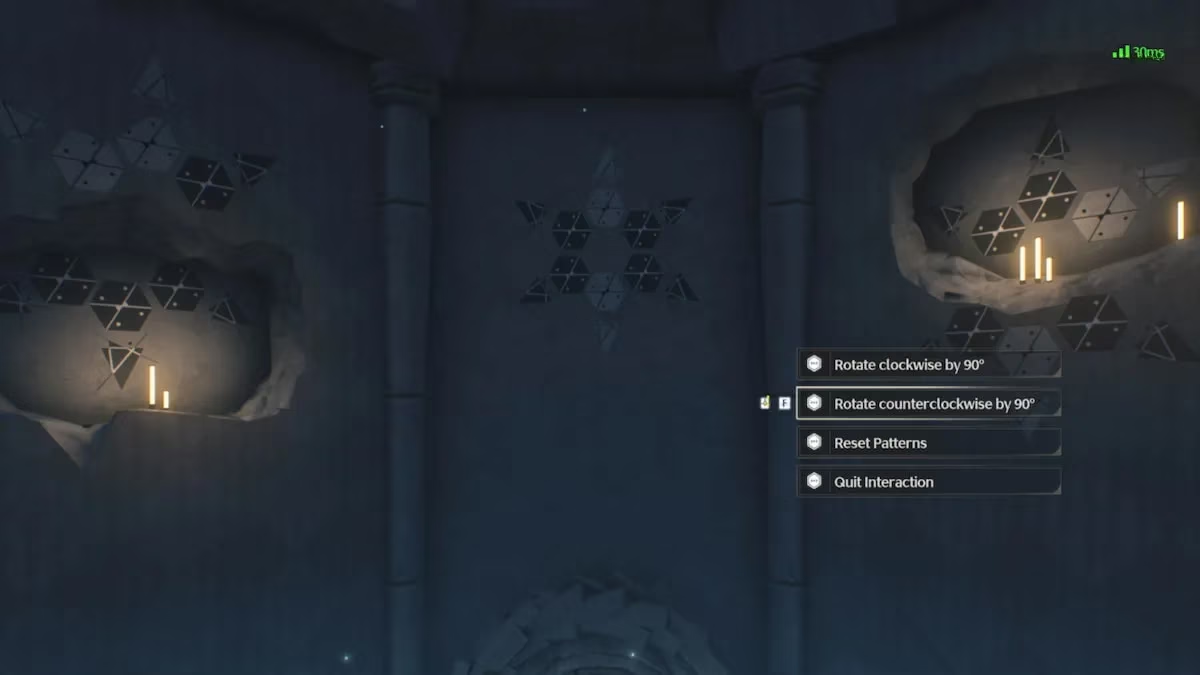
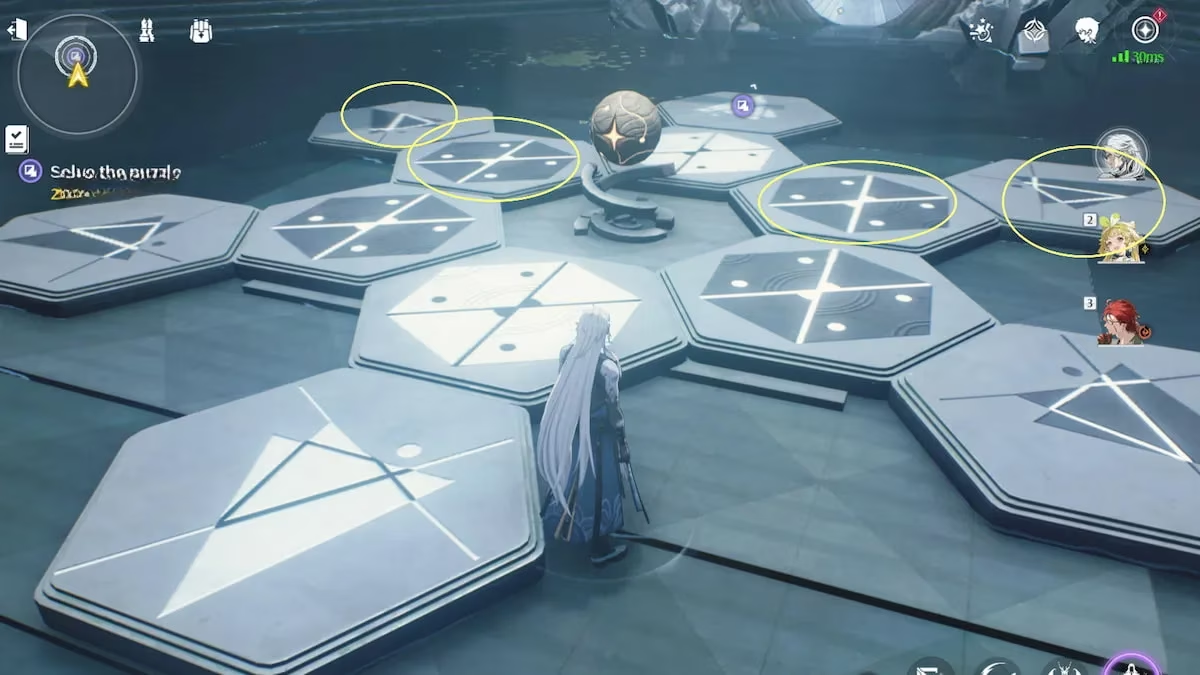
Now comes the final button bonanza. The floor has numerous shapes, and you need to match them to the white symbols on the three wall patterns. Already, four buttons are correct—congratulations, you didn’t have to touch those! Focus on the top left set: plunge the cube and triangle there. Then hop to the top right and do the same for the cube and triangle. That’s it. Four quick stomps. If you’ve done it right, the room practically cheers—or maybe that’s just the sound of an Advanced Chest materializing.
Rewards and the Sweet Taste of Freedom
With the final puzzle cracked, the game dumps a treasure trove into your inventory. We’re talking upgrade materials, astrite, maybe a weapon or two if the RNG gods are smiling. Collect everything from the Advanced Chest and any smaller lootables, then skedaddle out of the realm door. Back in the real world, you can breathe fresh air and marvel at how a few well-placed stomps and some spatial reasoning earned you all that sweet, sweet loot.
In 2026, the Perspective Bender remains one of those challenges that’s just frustrating enough to be memorable but simple enough that you’ll kick yourself for overthinking. So next time you’re cruising through Wuthering Waves and see that dimension door, remember: when in doubt, jump on it. Literally. And if all else fails, there’s always a guide to hold your hand—no shame in that. Now go forth, Rover, and bend some perspectives.